
Windows Vista / 7 Settings
This page explains how to connect a device running Windows Vista or Windows 7 to eduroam. Separate instructions are available for Windows 8 / 8.1 / RT and Windows XP systems.
Update the root certificate store
In order to connect in a secure manner, it is necessary to import a new root certificate into your system's root certificate store. To do this:- Save the certificate to your computer.
- Locate where you saved the certificate and double-click on it.
- Accept all prompts using the default values.
Configure Wi-Fi settings
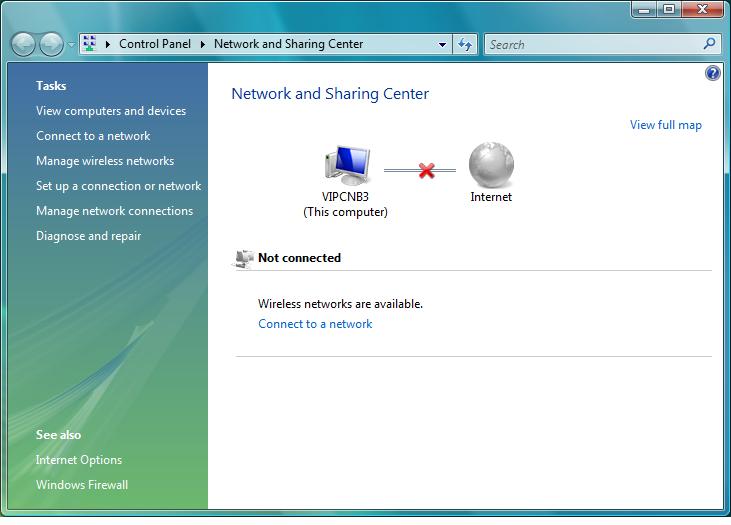
- Right-click on the tray icon for the wireless networks and select Network and Sharing Center. Alternatively,
open Control Panel and select View Networks Status and Tasks from the Network and Internet list.
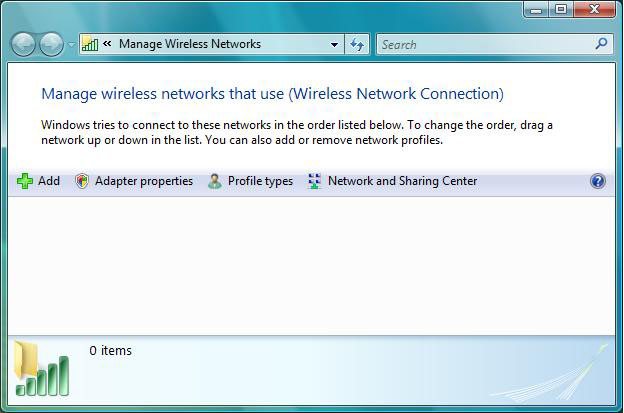
- Choose Manage wireless networks from the list of tasks.
- In the window that appears, choose Add.
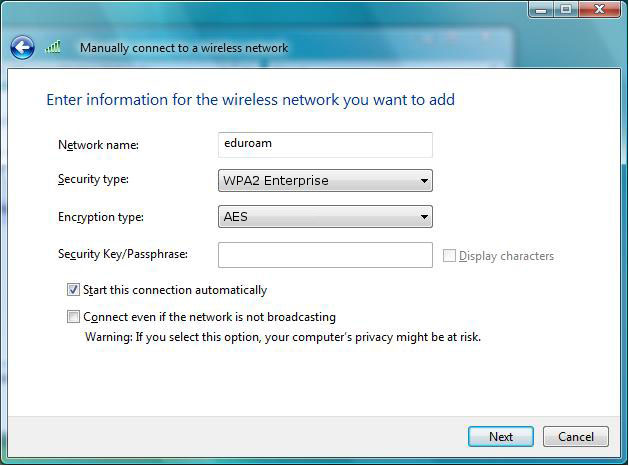
- Choose Manually create a network profile from the list of options.
- Enter the settings shown below in the Manually connect to a wireless network window:
- Click Next then press Change connection settings.
- In the Security tab, ensure the network authentication method reads Microsoft: Protected EAP (PEAP) and choose Settings.
- In the Protected EAP Properties window, select Validate Server Certificate, tick Connect to these servers, enter radius.auth.reading.ac.uk in the box, then choose AddTrust External Root CA as the trusted certificate.
- Under Select Authentication Method, choose Secured Password (EAP-MSCHAP v2). Ensure that the Enable Fast Reconnect box is checked and the remaining two boxes remain unticked.
- Choose Configure (next to Select Authentication Method), and untick the box labelled Automatically use my Windows logon name and password (and domain if any).
- Click OK three times, followed by Close.
- A balloon notification will appear, indicating that Additional information is required to connect to eduroam..
Click on the notification.

- If you are a member of staff, in the window that appears, enter your University username followed by @reading.ac.uk (e.g. ab123456@reading.ac.uk), and your University password.
- If you are a student, in the window that appears, enter your University username followed by @student.reading.ac.uk (e.g. ab123456@student.reading.ac.uk), and your University password.
- Leave the logon domain box empty.
- Your system should now connect to eduroam.
Your system should remember your credentials and automatically connect to eduroam wherever it is available; however you may be prompted to re-enter them if you change your password or if the authentication servers are unavailable.
Troubleshooting
If you cannot connect, check that:
- You are at a location with good signal strength.
- If you are a member of staff, you have remembered to add @reading.ac.uk to the end of your username.
- If you are a student, you have remembered to add @student.reading.ac.uk to the end of your username..
- You are typing your University password correctly.
These settings will only work if you have a University of Reading username - if you are from a different organisation, you will need to refer to your home organisation for the correct instructions.
If you require further assistance, please contact the IT service desk.